Tracking Your Saved Positions with ApplyKite (No More Excel Sheets!)
Step 1: Add Positions to Your List
After finding and saving the PhD positions I was interested in (like the ones from KTH and Chalmers), they automatically appeared in my Activity section on the left panel.
This section works like a built-in tracker — so I don’t have to use extra spreadsheets or manual notes.
Pro Tip:
Every position I add to my list instantly syncs with my dashboard, and I can manage all my outreach activity from one place.
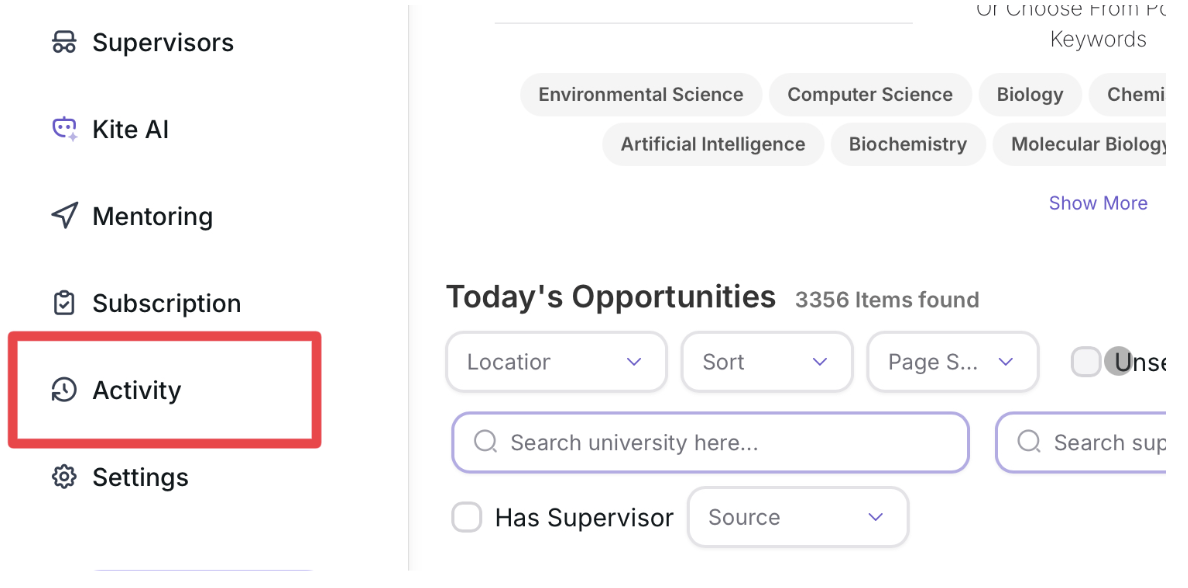
Step 2: Open the Activity Section
From the left menu, I clicked Activity.
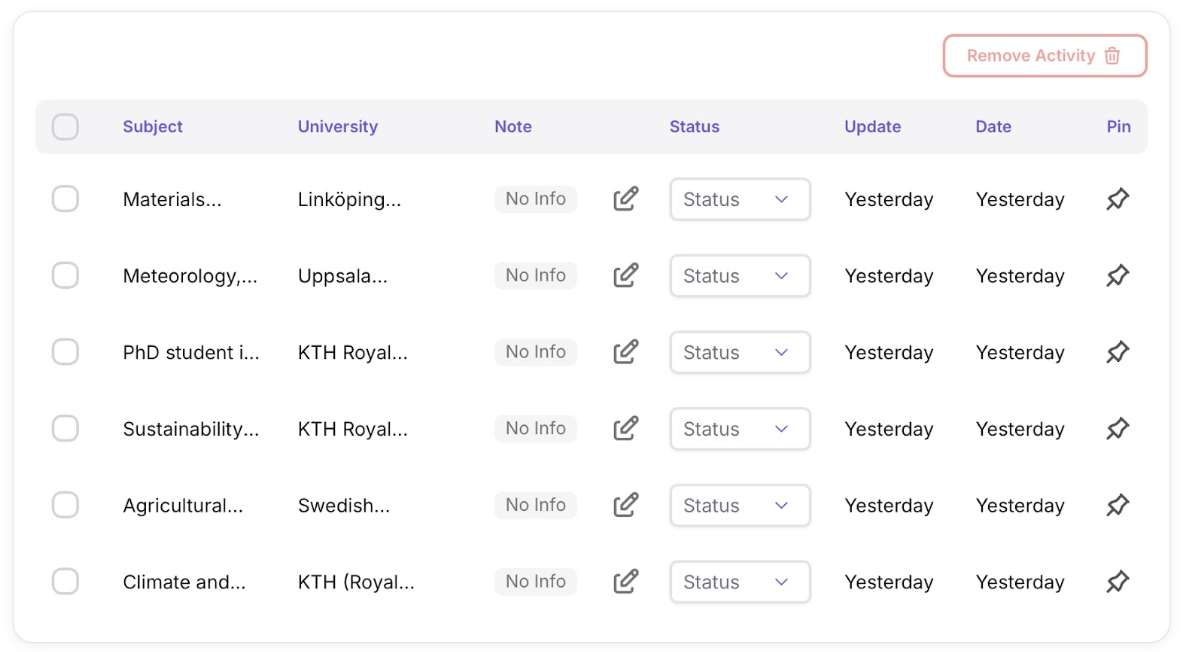
Here I saw all the positions I had added earlier, each line showing:
- Subject: the title of the position
- University: the host institution
- Note: any personal note I added (e.g. “waiting for reply”)
- Status: the stage of my application
- Date: when I last updated that status
Step 3: Update the Status of Each Position
When I click the Status field beside each position, a dropdown appears with different options:
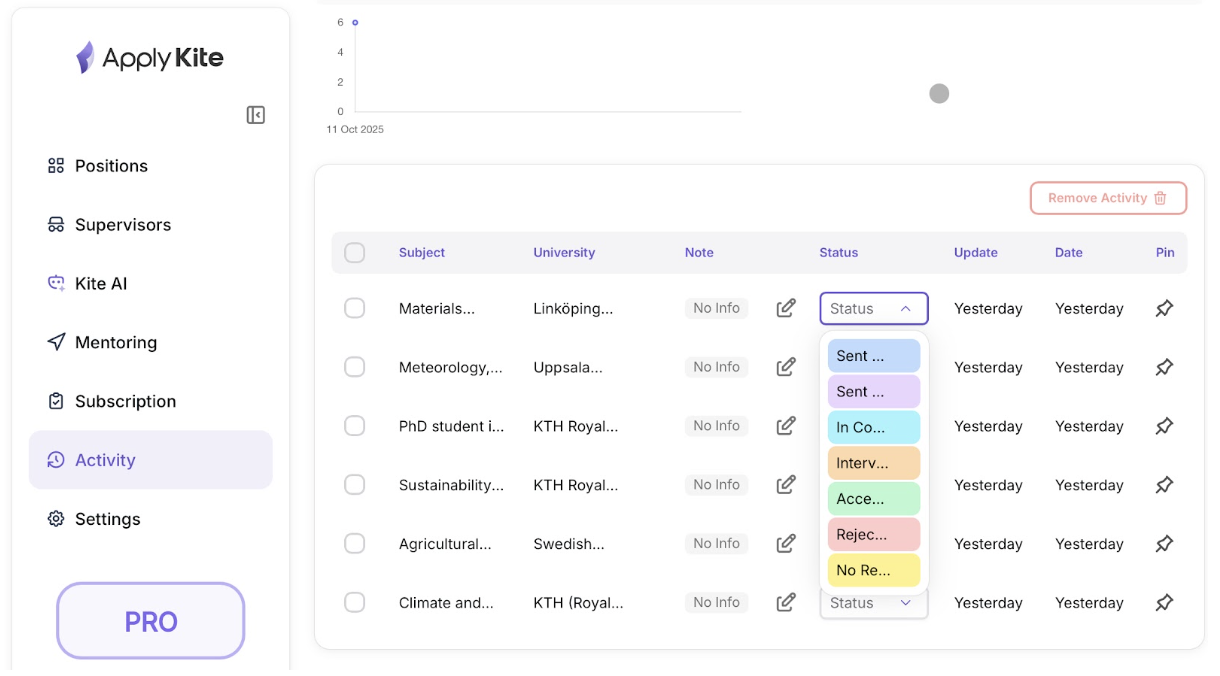
- Sent Email
- Sent 2nd Email
- In Contact
- Interview
- Accepted
- Rejected
- No Response
I can choose the current stage of my communication or application for each position.
Example:
After I emailed the professor at KTH, I changed the status to “Sent Email.”
A week later, when they replied, I updated it to “In Contact.”
Pro Tip:
You can pin an active position (📌) to keep it at the top of your list — useful for ongoing conversations or upcoming interviews.
Step 4: Add Notes and Comments
In the Note column, I can add short reminders like:
- “Need to follow up next week”
- “Waiting for feedback on proposal”
- “Interview scheduled on 18 Oct”
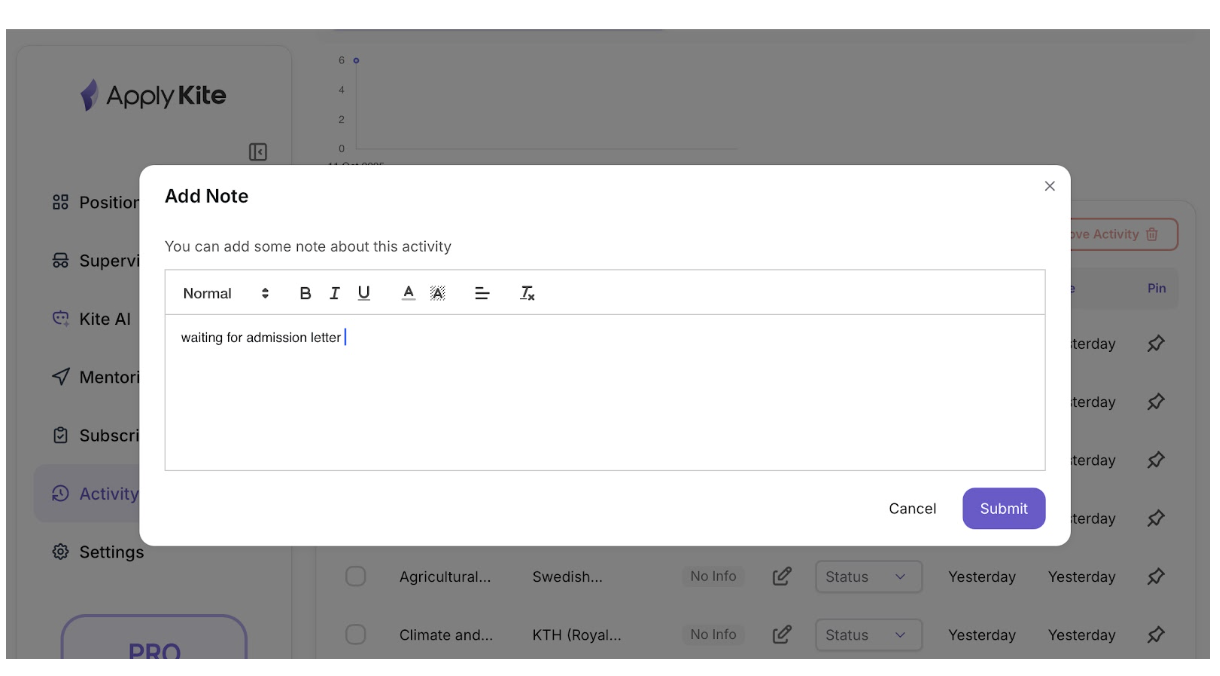
This helps me keep a clear timeline of all my interactions.
No need for messy Excel comments or color codes anymore — everything stays organized directly inside ApplyKite.
Step 5: Filter and Review Progress
At the top of the Activity page, I can filter my list by:
- University name
- Location
- Status (e.g., show only “Interview” or “In Contact”)
- Date range
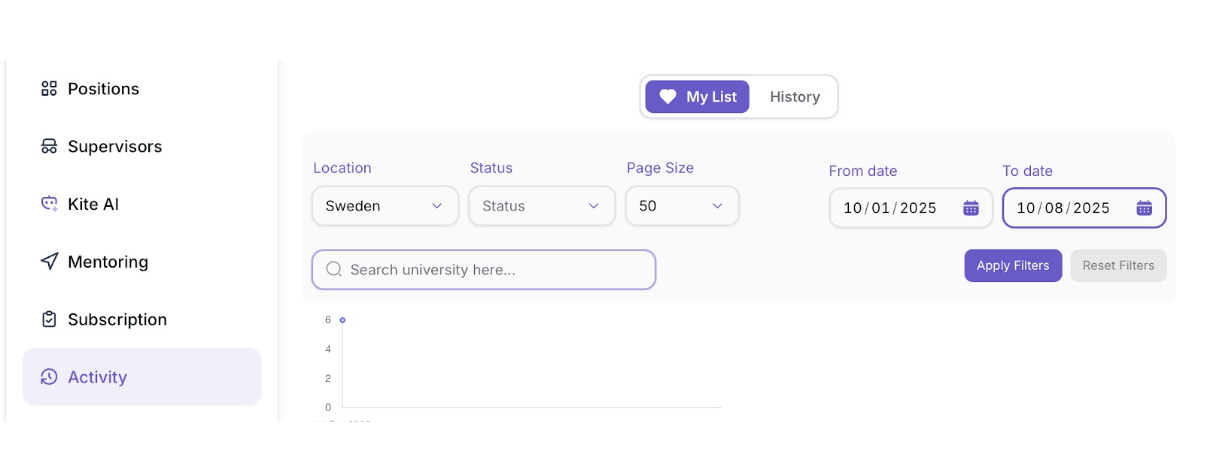
This makes it super easy to review my entire progress.
Example:
I can quickly see how many professors I contacted this week, or how many are still in “No Response” status.
Pro Tip:
The small graph above your list updates automatically — it shows how your outreach activity grows over time.

Final Outcome
By using the Activity tab, I tracked every single PhD position I saved — from the first email to the interview — without ever needing Excel or Google Sheets.
All updates, notes, and follow-ups stay in one dashboard, perfectly synced with Kite AI tools for writing and communication.
Now, instead of dozens of random files, I have one clean timeline that shows exactly where I stand with each opportunity.